Step 1: Click on the Student Menu from the AIMS dashboard.
Step 2: Hover over the Academic Setup sub-menu.
Step 3: Click on Academic Setup.

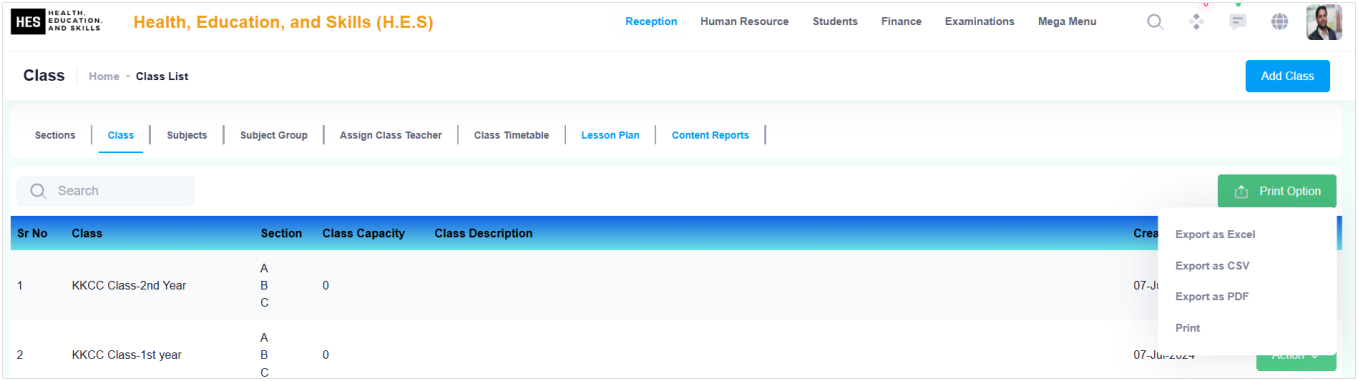
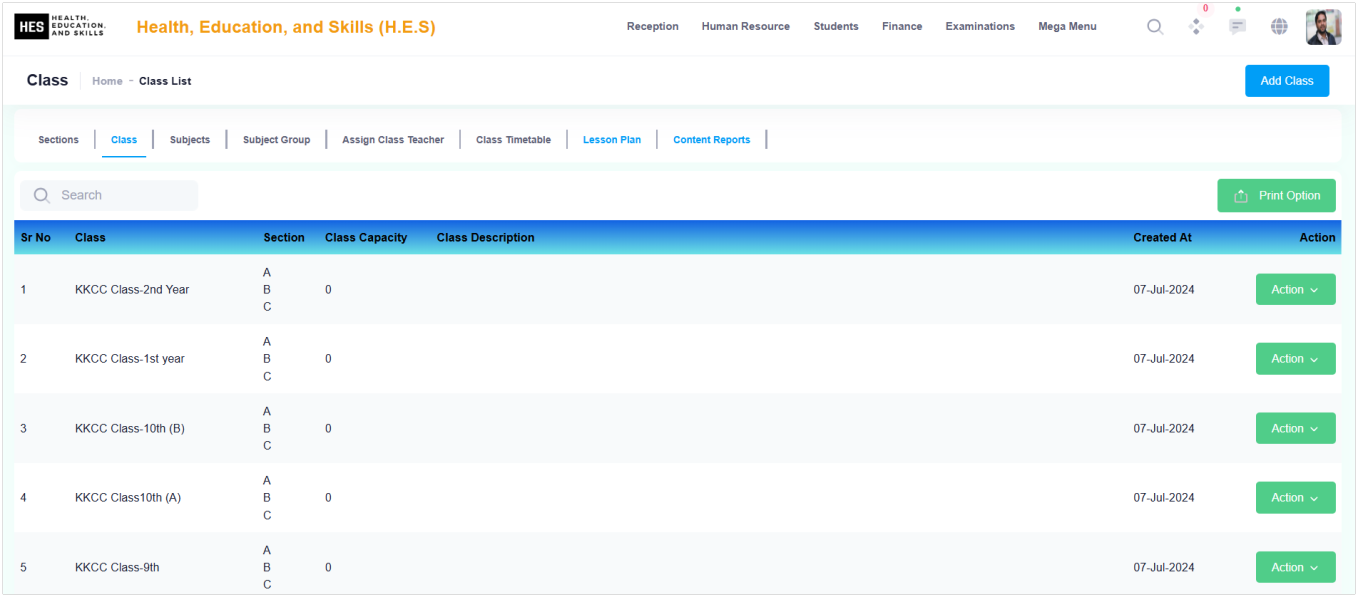
Step 4: Click on the 2nd Tab - Class. The class listing will open.
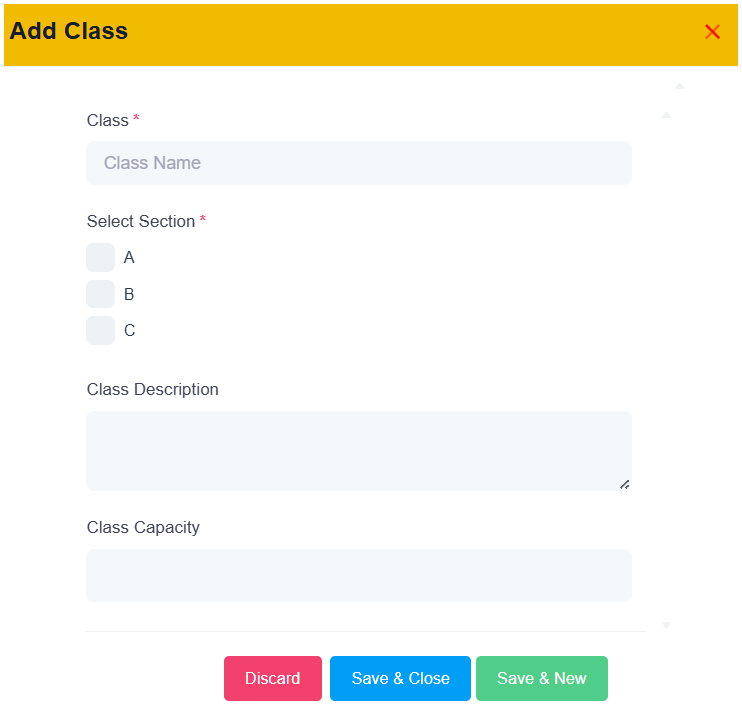
Step 5: Click on the Add Class button in the top-right corner.

Step 6: A modal form will appear. Fill in the required fields, select the sections of the class, and enter the class capacity. Click Save & Close to save the record or Save to keep the form open for additional records.
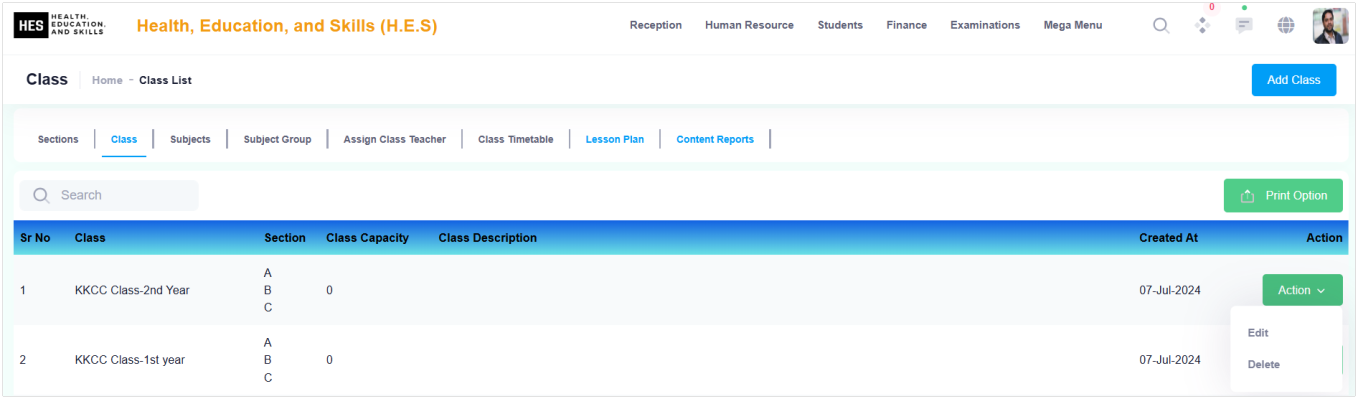
Step 7: Click the Action (Green) Button in each recorded line to edit or delete a record.
Step 8: Note: A class cannot be deleted if students are admitted to it. Step 9: Click on Print Options to print or export records as PDF or CSV.